Forensics can be a difficult process, and understanding the ins and outs of all the artifacts on a Windows system is a process that takes a long time. This is a tool I wrote in Python that can speed up the process of an investigation by giving the user a basic overview of what artifacts are on the device being examined, as well as giving some of the key information found in them. The tool does everything automatically, and is incredibly easy to use, even for someone with little forensic knowledge. The idea isn’t for the tool to do a full deep dive into each artifact, but it will parse each artifact to give a general overview of what information is in it. This way the examiner can quickly decide which artifacts are worth looking at, and then they can use a more advanced tool to fully examine it.
How It Works
The first thing you will want to do when you start the program is go to the “Settings” page.
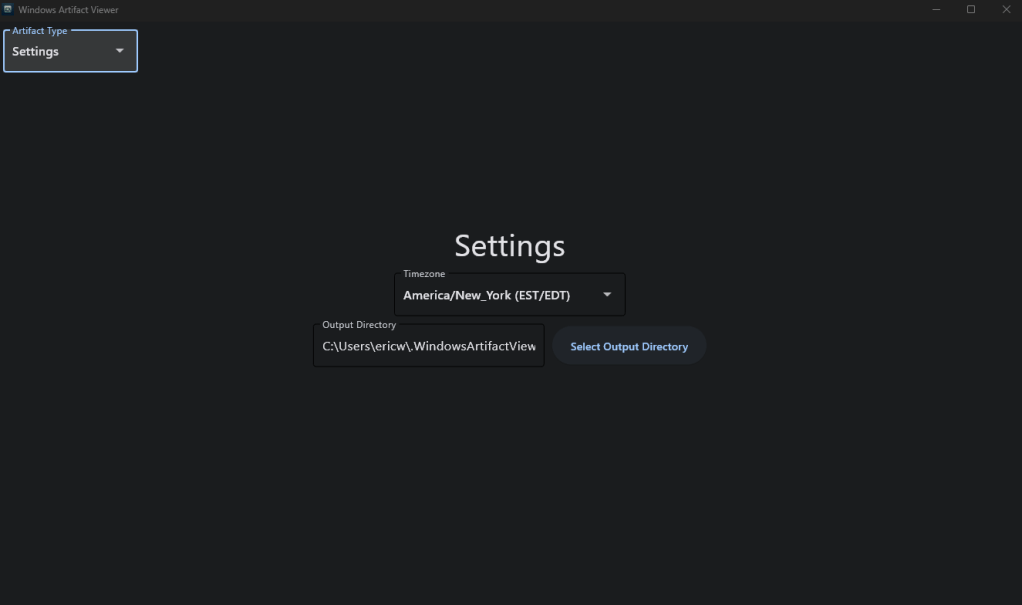
On this page you can set the time zone, which will be used for converting timestamps. You can also change the output directory if you’d like, which is used to output parsed data that this program finds. These settings will remain consistent across runs, so you only need to set the settings once. After this, you can use the navigation dropdown in the top left to navigate to which type of artifact you want to parse. Currently, the two categories available are “File Artifacts” and “Internet Artifacts”. The “File Artifacts” page looks like this:
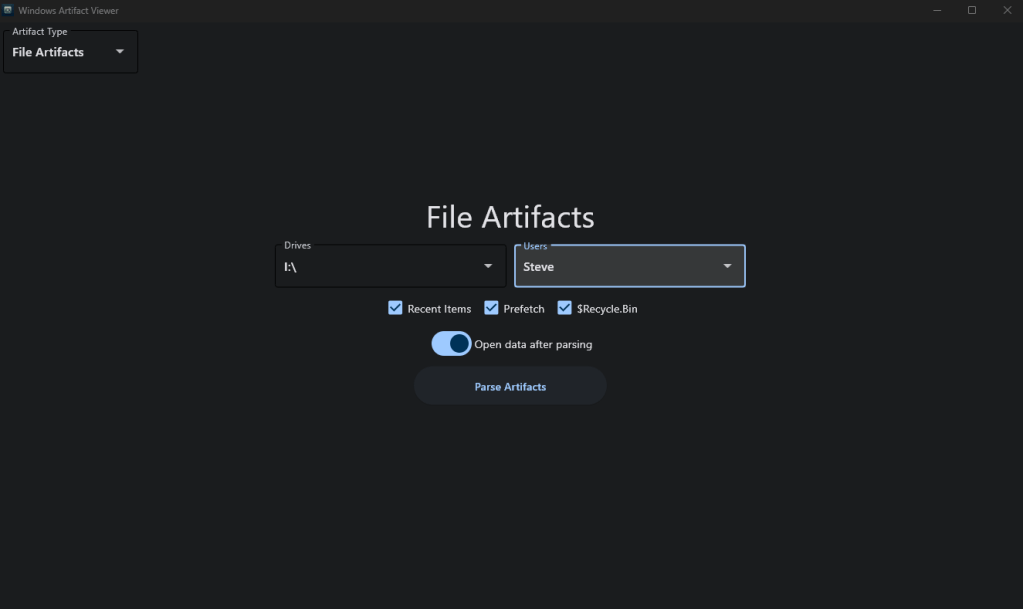
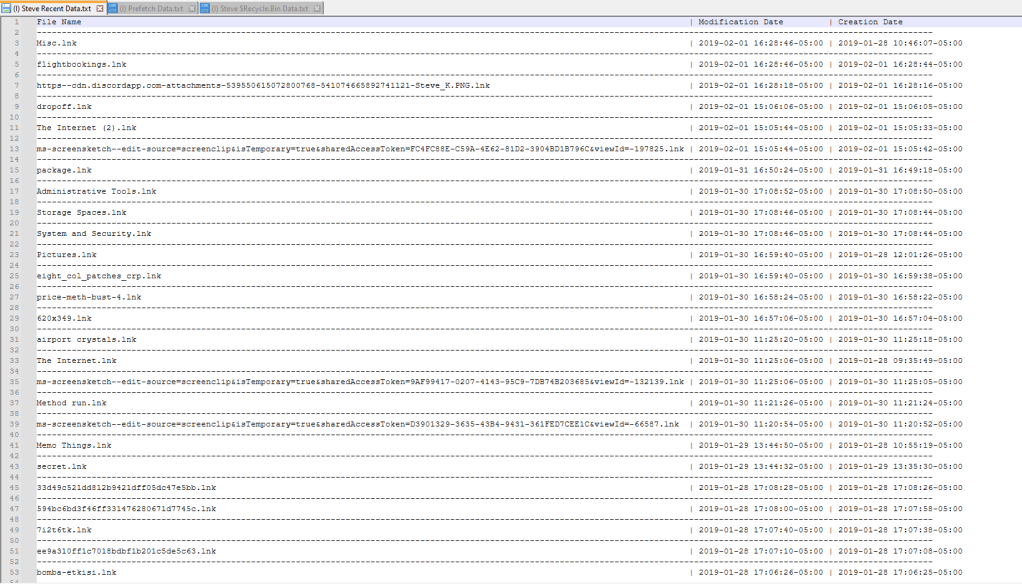
From here you need to select a drive to analyze (either your C drive or a disk image that you’ve mounted) and a user profile from the drive you’re analyzing. These options will automatically be populated in these dropdown boxes. After that is set, you can use the checkboxes to select which artifacts you want to parse. There is also a slider below that which reads, “Open data after parsing”. If you enable this slider, then the program will automatically open the text files that contain the parsed data after the parsing is completed. Once everything is set, you just click on “Parse Artifacts” and the program will do the rest. For this demonstration, I used a disk image I downloaded from Digital Corpora and selected all of the options. The output will look like this:


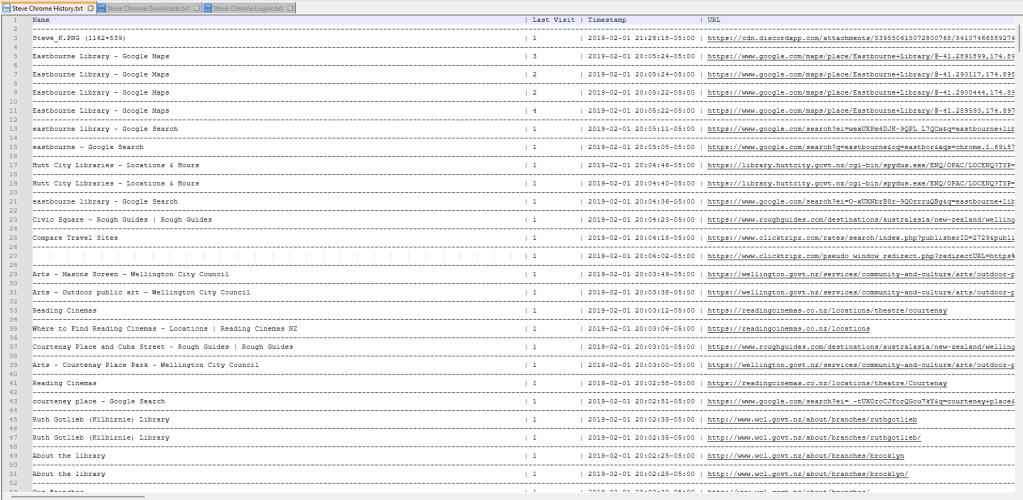
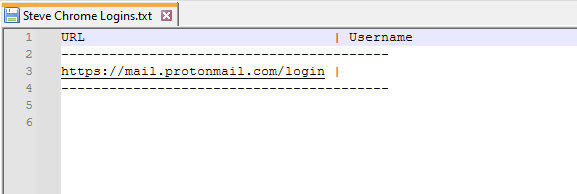
The “Internet Artifacts” page is very similar.

Just select the options you want and let it rip. In the output below, you’ll notice that the “Bookmarks” are missing. That’s because this particular disk image didn’t have a Bookmarks file, so the program ignored it. You should also note the way it parses the browser login data. For Chromium-based browsers, the program will currently only parse the website name and login username (if one was saved, but a username wasn’t saved on this disk image). It does not extract passwords at this time. The only browser this program will extract passwords from at this time is Firefox.

More features and artifact capabilities will be added in the future. You can view the source code on my GitHub page, and you can download the direct executable on SourceForge.
GitHub: https://github.com/ericw317/WindowsArtifactViewer_GUI
SourceForge: https://sourceforge.net/projects/windows-artifact-viewer/
Updates:
11/28/2024: Added Jump List parsing

Leave a comment